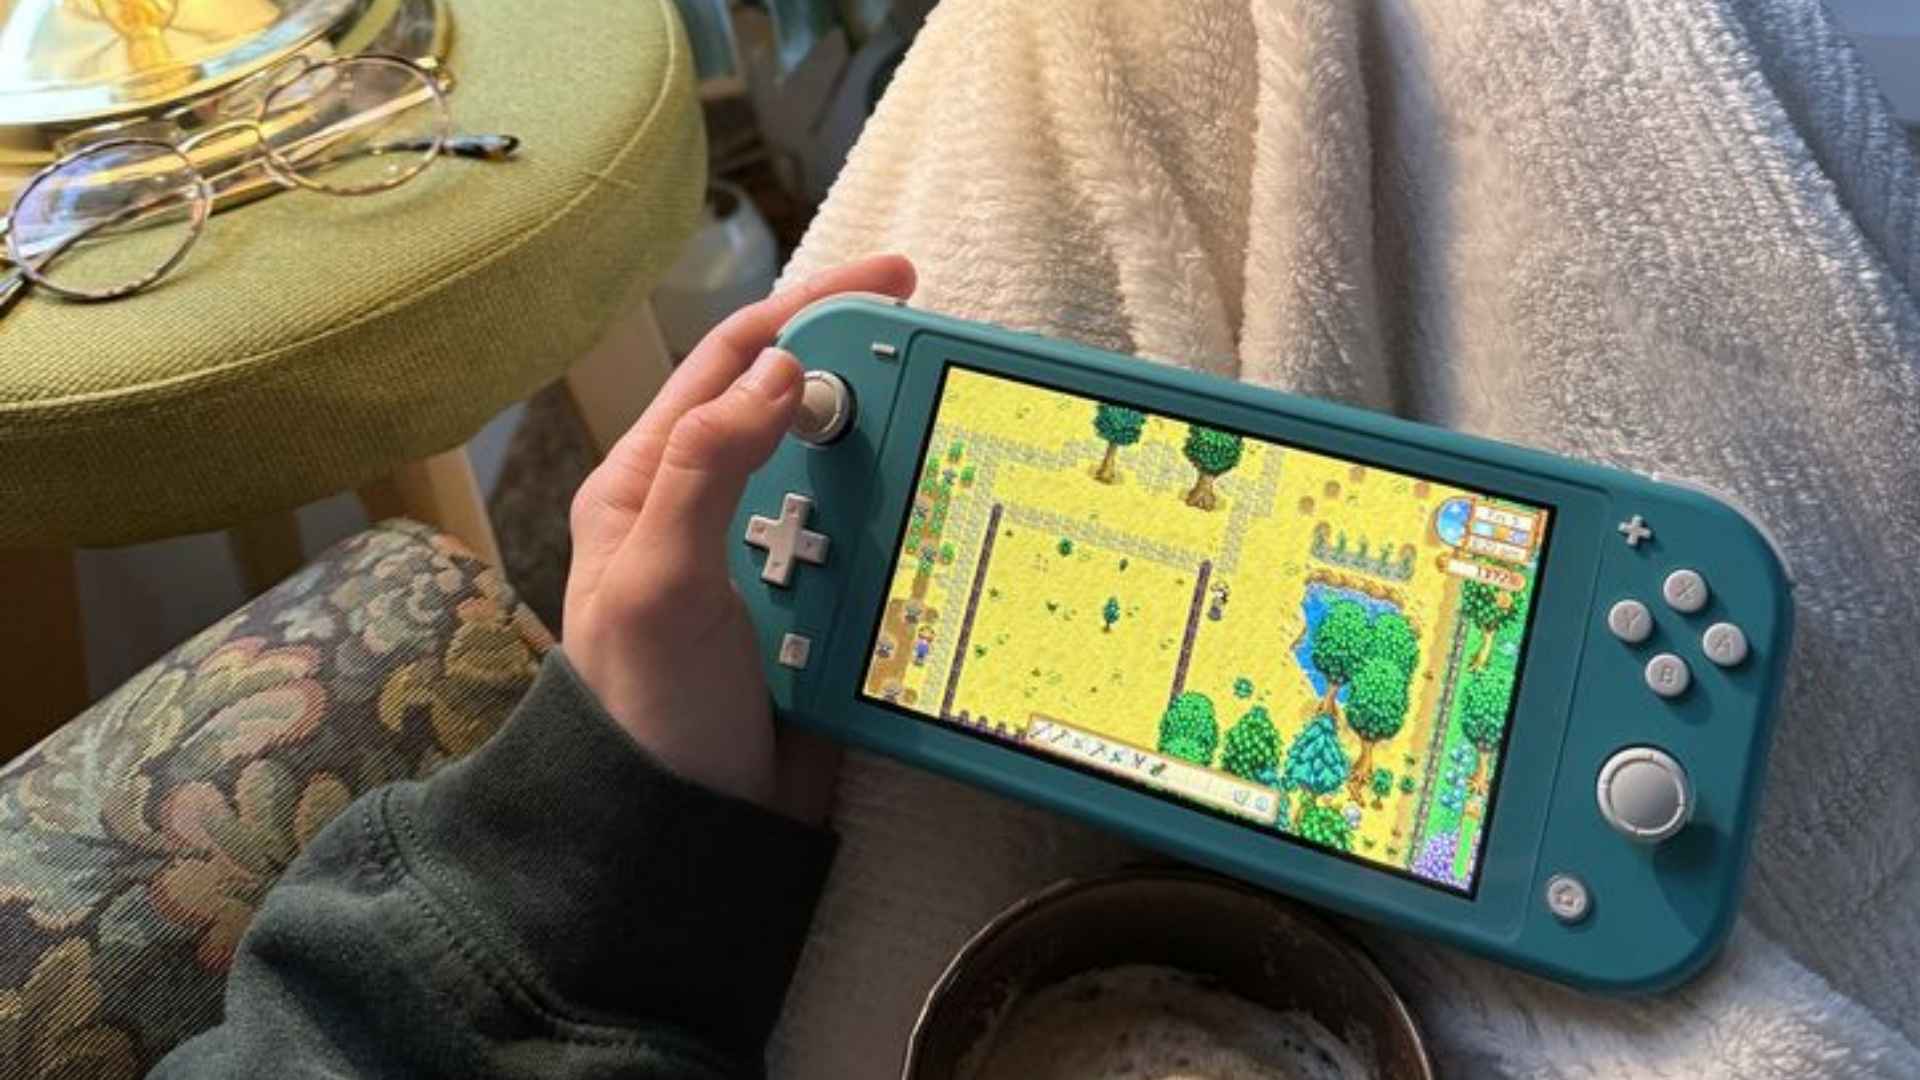
Capturing memorable gameplay moments in Steam is as effortless as pressing a hotkey during an intense boss fight or scenic exploration. However, retrieving those high-resolution image files from your computer storage can sometimes feel like searching through a maze of deeply nested directories. Knowing the exact pathways and built-in shortcuts ensures that your favourite captured memories are always ready for sharing or editing.
Accessing Screenshots Directly Through the Steam Client
The most convenient method to view your saved images relies on the integrated interface provided by Steam itself. Simply open the application, navigate to the top toolbar menu, and select View followed by Screenshots from the drop-down options. This launches a dedicated manager window where you can filter captures by game title and click Show On Disk to instantly open the local folder in File Explorer.
For gamers following daily gaming news and sharing highlights online, this client feature eliminates the hassle of manual file navigation. You can also upload images directly to your Steam community profile or delete unwanted files to clean up drive space without leaving the client interface.
Navigating the Hard Drive Path Manually
If you need to access your images while Steam is offline or completely closed, you can locate the directory manually using File Explorer. By default on Windows systems, the core installation folder resides in C:Program Files (x86)Steamuserdata. Within this location, you will encounter folders labeled with unique numerical Steam User IDs that represent your local accounts.
After opening your specific user ID folder, navigate to 760 and then enter the remote subfolder to locate your screenshots. Inside, game titles are categorized by their numerical AppIDs, with each containing its own dedicated screenshots directory. Understanding this structure makes it easy to create desktop shortcuts directly to your most frequently used image folders.
Locating Saved Images on macOS and Linux Systems
Operating systems like macOS and Linux organize system files differently, resulting in distinct storage paths for your Steam library captures. On Mac computers, users can find their files by opening Finder and navigating to ~/Library/Application Support/Steam/userdata. On Linux distributions, the standard directory path usually resides under ~/.local/share/Steam/userdata depending on your specific installation type.
Because these system directories are hidden by default on desktop platforms, you may need to enable hidden file visibility in your file manager options. Once revealed, the interior folder organization follows the exact same user ID and AppID hierarchy used on Windows machines. This uniform structure ensures that cross-platform players can reliably manage their captures across different operating systems.
Customizing Your Screenshot Hotkey and Folder Behavior
Tailoring your capture settings inside Steam can streamline your gaming workflow and improve image management significantly. By opening Steam Settings and selecting the In-Game tab, you can customize your designated capture key away from the default F12 button. This prevents accidental triggers during gameplay while ensuring easy access when spontaneous cinematic moments occur.
Additionally, enabling the Save an Uncompressed Copy option automatically creates a pristine raw PNG version of your images in a custom directory of your choice. Selecting a dedicated folder on an external drive or cloud storage folder allows seamless backups without digging through nested system folders. Taking a few minutes to configure these settings creates an efficient, organized system for all your gaming photography.